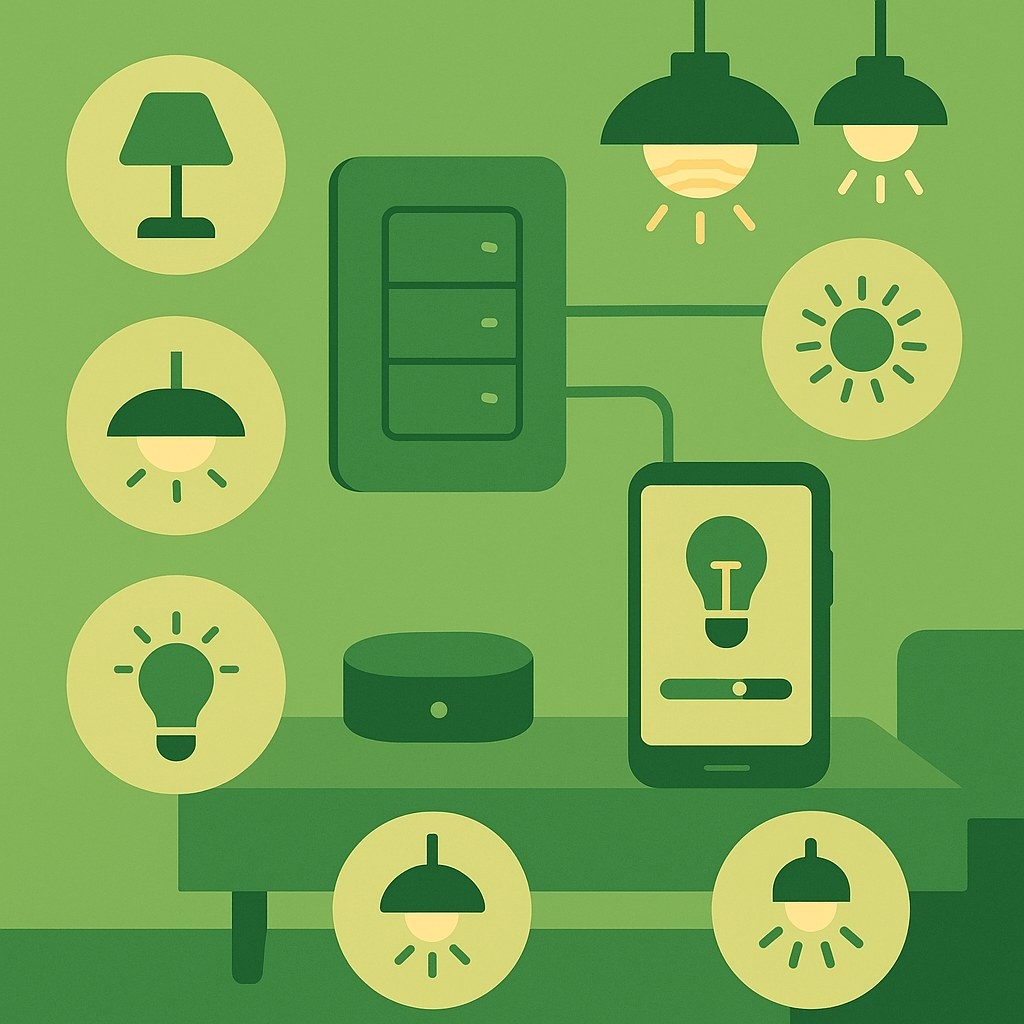
Smart lighting can improve convenience, energy efficiency and home value while giving households control over brightness, ambiance and schedules. A reliable installation depends on matching devices to the existing wiring, establishing dependable wireless connections and planning automation around daily use.
Understand the technology
Unlike conventional switches, smart switches and dimmers communicate with controllers while managing electrical loads. Depending on the device, they can support dimming curves, energy monitoring and scheduling, with responses to commands or environmental conditions.
- Zigbee: a low-power mesh network suited to battery-operated devices and broad coverage.
- Z-Wave: a reliable mesh protocol offering strong interoperability between manufacturers.
- Wi-Fi: a direct router connection with high bandwidth but greater power consumption.
- Matter: an emerging universal standard for cross-platform compatibility.
Before choosing devices, check load compatibility, neutral wire availability and wireless coverage. These requirements matter whether you are upgrading one room or building a whole-home system.
Assess the installation and plan expansion
Review electrical capacity, switch box depth, circuit loading and compatibility with your intended devices. Older homes may lack neutral wires at switch locations, restricting your options or requiring additional electrical work.
- Calculate each circuit's electrical load to confirm safe operation.
- Check every proposed smart switch location for a neutral wire.
- Assess wireless coverage throughout the installation area.
- Allow for additional devices in future.
Map out installation order, wiring changes and integration priorities. Begin with frequently used rooms, such as living rooms and bedrooms, then expand as you become familiar with the equipment and installation process.
Prepare tools and follow electrical safety procedures
Smart wiring combines electrical work with network configuration, so testing may require network analysers or protocol-specific diagnostics as well as conventional tools. Electronic components and wireless connections make careful verification particularly important.
- Non-contact voltage tester and multimeter for electrical checks.
- Wire strippers, screwdrivers and electrical tape for connections.
- Network scanner or smartphone app to assess signal strength.
- Headlamp and flashlight for visibility inside electrical boxes.
Before starting electrical work, disconnect power at the circuit breaker and confirm its absence with a non-contact voltage tester. Prepare carefully: smart switches often involve more connections than conventional models.
Install smart switches and dimmers
Installation details depend on the existing wiring and the manufacturer's requirements. Follow this preparation sequence:
- Switch off the circuit breaker and verify with a voltage tester.
- Remove the existing switch and identify the line, load and neutral wires.
- Use a multimeter to check connections and confirm wire identification.
- Confirm that the electrical box has enough room for the smart device.
Most smart switches need a neutral connection to power their electronics even when the lights are off. Without one, you may need new cable or a switch intended for two-wire installations. Two-wire models typically offer fewer functions than neutral-wire devices.
Attach the line wire, typically black, to the designated line terminal. Connect the wire serving the light fixture to the load terminal and the neutral, typically white, to the neutral connection. Connect ground wires correctly for safety and device protection. Always follow the manufacturer's wiring diagram: terminal positions and colour coding vary.
Fold the connected wires carefully into the box, secure the switch and restore power at the breaker. Check basic switching before configuring networking or advanced functions.
Set up the hub and network
A central gateway connects smart devices with internet services, supporting remote access, voice control and integration with other automation equipment. Hubs also translate between protocols and process schedules and automation rules.
Secure, reliable connections between the lighting devices and hub are essential for responsive operation. Set up the network in this order:
- Connect the hub to the router with an Ethernet cable for optimal performance.
- Install the manufacturer's mobile app and create an account.
- Use the guided setup to configure wireless network settings.
- Add devices one at a time, allowing each to pair and join the network.
Pairing usually requires activating the switch's pairing mode and starting discovery on the hub. Some devices must initially be near the hub; others can pair where installed. Check that every device has a strong signal to avoid communication dropouts.
Create schedules, scenes and control options
Automation can adapt lighting to household preferences, time and environmental conditions. Scenes combine preset settings so that a single command adjusts several lights.
- Sunrise and sunset schedules can support natural circadian rhythms.
- Time-based routines can vary by day and season.
- Motion sensors can activate lighting automatically and reduce energy use.
- Vacation modes can imitate occupancy patterns for security.
Scenes may coordinate brightness, colour temperature and multiple fixtures. Examples include dim ambient lighting for "Movie Night", warm accents for "Dinner Party" and gradually increasing brightness for "Morning Routine".
Integrations with Amazon Alexa, Google Assistant or Apple HomeKit allow spoken commands for lights, scenes and routines. Wall controllers and wireless remotes offer physical controls or backup methods when network connectivity has problems; they can operate individual lights, scenes or more complex sequences.
Troubleshoot connectivity and performance
Interference, coverage gaps and incorrect pairing can cause slow responses, intermittent operation or disconnected devices. Work through the relevant checks systematically:
- Weak wireless signal: reposition hubs, add repeaters or move to mesh-capable devices.
- Pairing failure: restore the device's factory settings, then repeat pairing closer to the hub.
- Incompatible loads: confirm that the switch supports the connected LED, CFL or other load type.
- Electrical interference: locate and move sources of electromagnetic interference affecting communication.
Further improvements may involve changing wireless channels, updating firmware or revising conflicting automation rules. Keep software current and replace wireless-device batteries as part of regular maintenance.
Decide between DIY and professional installation
The appropriate approach depends on your electrical experience, project complexity and safety requirements. Skilled DIY users may be able to handle basic installations when they have:
- Basic electrical knowledge and confidence with household wiring.
- Existing neutral wires and sufficient space in switch boxes.
- Simple single-pole replacements without substantial wiring changes.
- Time for careful installation and troubleshooting.
Professional guidance is essential for electrical panel modifications, new circuits or complex three-way switching. Use licensed electrical services where local building codes require them. Electricians bring knowledge of codes, safety and advanced fault-finding; professional installation often also includes warranty coverage, compliance checks and ongoing support.
Compare initial costs with long-term reliability, safety and warranty implications. A higher upfront installation cost may avoid expensive repairs later. Start by assessing your wiring and priority rooms, then expand with compatible devices while maintaining consistent installation and performance standards.

